
You are probably wondering: now that I have purchased B-BOX, where to start?
Don’t worry, here you can find all the information you need to get the most out of our urban hive! Feel free to send us an email to [email protected] if you have any doubt or request, we will be happy to answer you and guide you in the right direction!
Have a good adventure!
Before you get started, we recommend that you take a class, read up on beekeeping, or join a local beekeeping association for more information. This is very important to learn about bees and have an idea of what it means to care for them. Our B-BOX makes the process a little easier, but you should still know the basics! There are many courses you can choose from, both online and in your city. Ask your local beekeeping association where you can sign up, it should be easy enough to find!
Each municipality has its own beekeeping laws and regulations. Normally, keeping bees in a backyard of a private home is allowed for those who have no neighbors. However, if you were planning to keep bees in your apartment building, on your balcony or on a rooftop, you should definitely check your local laws.
Before assembling the hive, we suggest that you give a coat of NON-TOXIC paint/impregnating agent to all of the hive components. Let the pieces dry in the sun for a day or two. Water-based paint normally has the least amount of toxins.
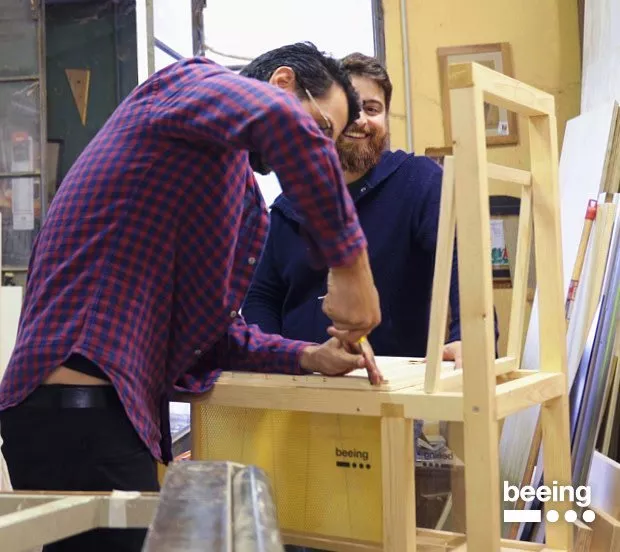
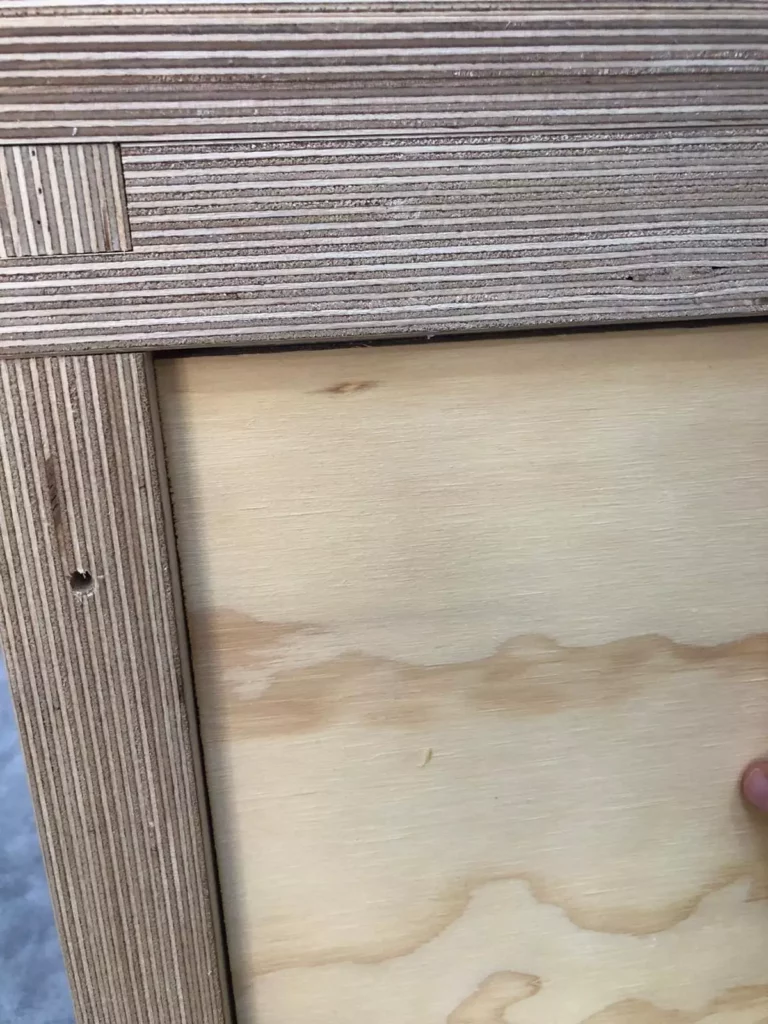
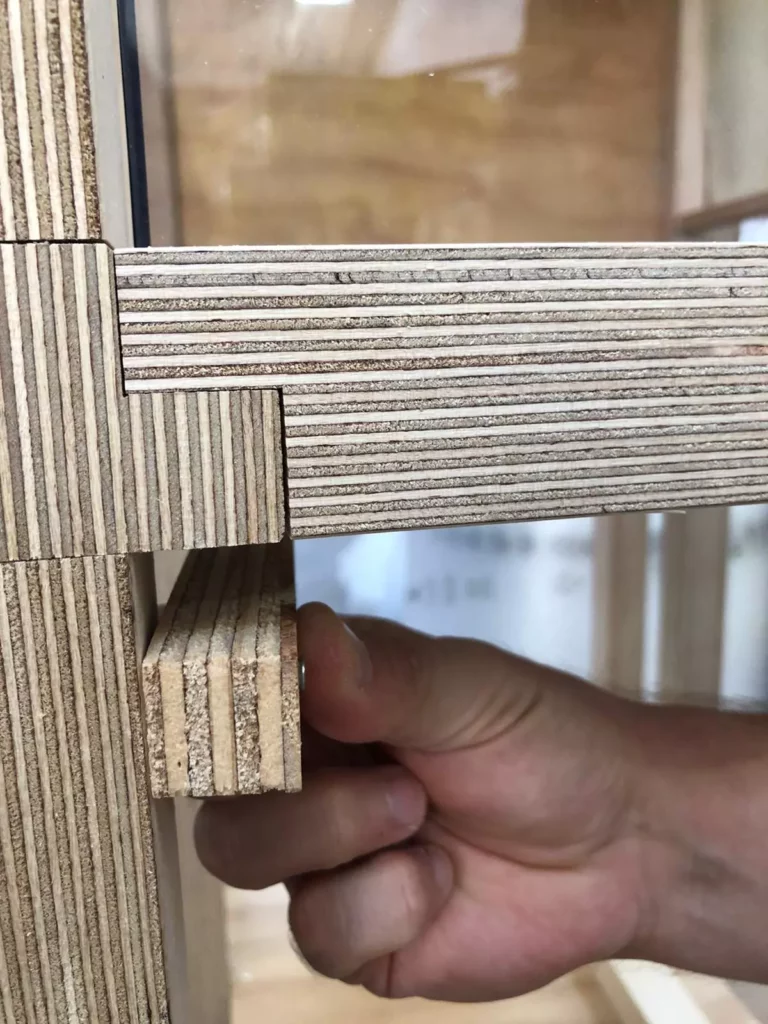
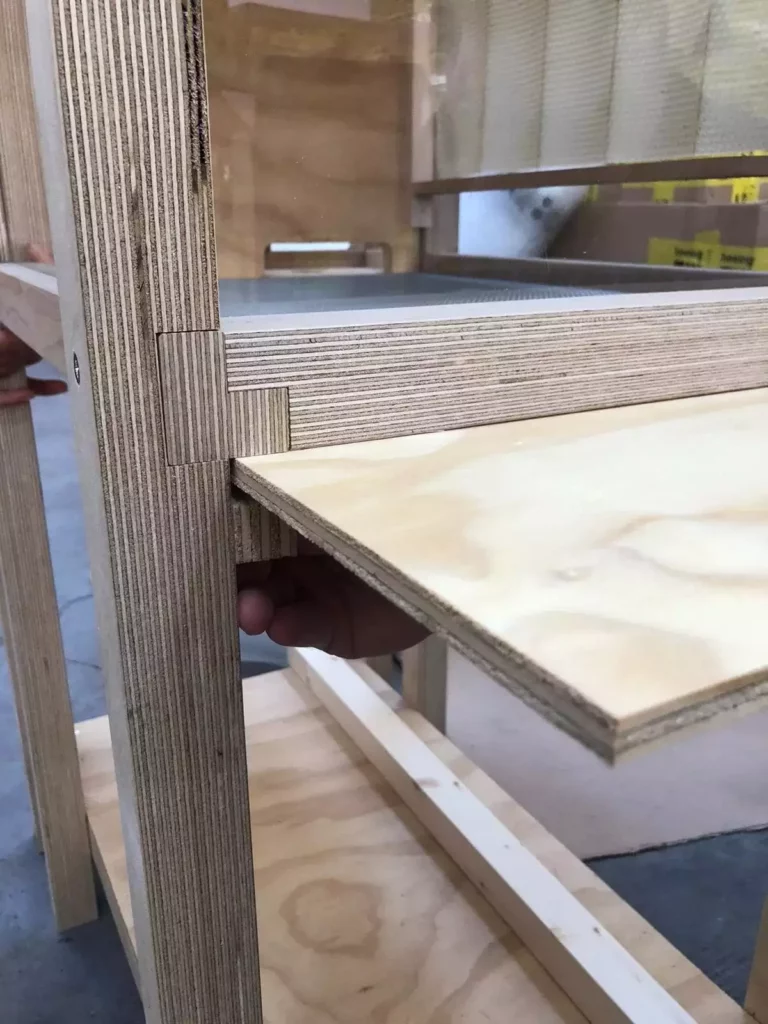
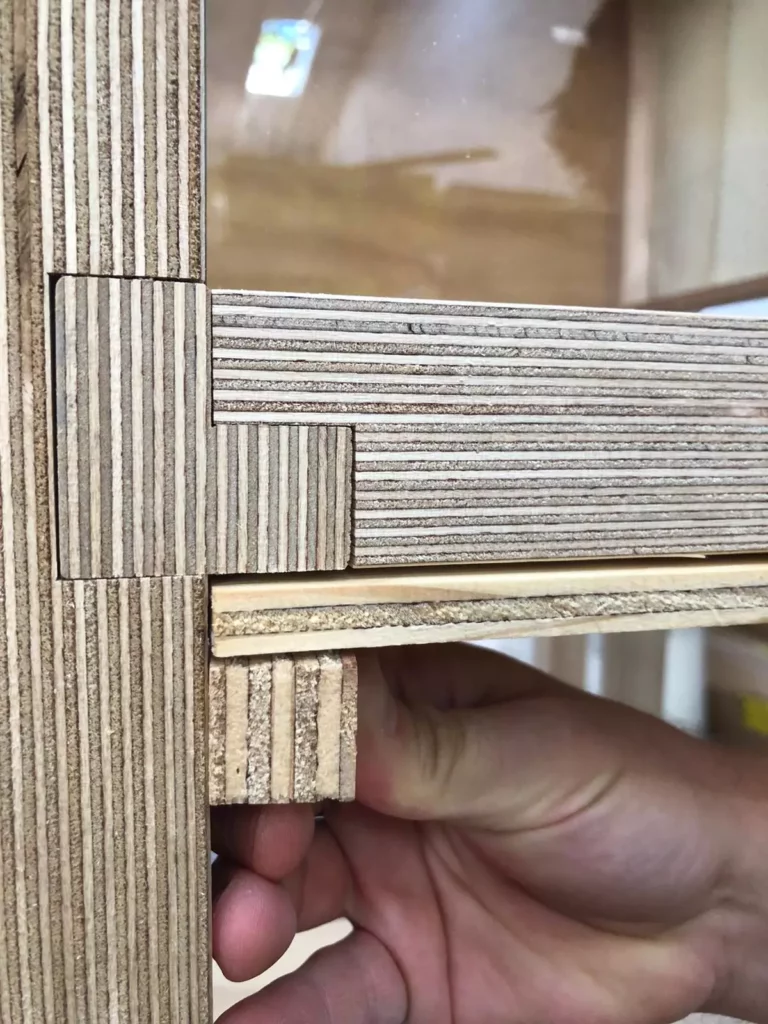
Install the hive. You can find assembly instructions here:
Tutorial assembly B-BOX
Once you’ve built the hive, give it a couple of coats of non-toxic or low VOC paint/impregnating agent to protect it from the elements. No matter what type of paint you use for your B-BOX, use any type you would use for a regular hive. It can be water-based, oil-based, etc. The most important thing is that it has low VOC levels or is non-toxic so as not to harm the bees.
You can position your hive however you like. We recommend the “chimney” for sun exposure, but it’s best to place the B-BOX in a semi-shaded area so it doesn’t get too hot. Also, placing it under a roof will protect it from rain and snow. Since the materials are made of wood, it is always best to protect it from the elements.
In areas with strong prevailing winds, you can also attach the top of the “chimney” to the bottom to stabilize it more and apply a weight to the bottom of the hive for even more protection.
If your goal is to produce honey, you can remove the chimney and make it easy for the bees to produce. You can still get close to it to observe the bees, just be sure not to agitate them. Remember to pay attention during the observation phase.
After introducing the bees, you should not move your hive. If you want to change the direction of the “chimney”, do this very carefully so the bees can figure out where the new entrance is. The reason is because bees are very sensitive when it comes to their location. Their internal GPS is very precise, so a slight movement of the hive will affect them.
1 – The best time to put bees in the hive is when it’s warm, but bees may be available for purchase as late as mid-summer. It depends on where you live. When you get your bees, they need to forage for enough food and grow to survive through the winter, so usually in early spring or when it’s warm and the flowers are blooming, you can get a small swarm. If you live in a climate with four seasons and decide to start your hive in the middle of bee season, it’s best to get a larger swarm to give them an advantage. If you get bees during the cold months, the climate will stress them out. They won’t come out to find pollen, nectar and other possible needs. So you need to move them when it’s “bee season” in your area.
2 – When introducing bees, it is best to put their “old home” on top of the B-BOX for three or four days. This is because bees have a very sensitive sense of direction and this way the entry levels will be more or less similar. Moving for them means they have to adjust to their new location, new flowers, new home. Leaving them in a new location in their old home makes it less difficult for them, so when we place the B-BOX in place of their old hive, they will think that is their home. The beekeeper usually carries bees on 4/5 frames that are already populated. The hive can hold up to 10 frames, either Dadant or Langstroth, so you can get what you prefer or what is available in your region. We suggest putting frames with a wax base; this will give the bees an advantage and allow them to produce honey and grow faster. The top bar of the frame can be a maximum of 48.5 cm and a minimum of 45.5 cm.
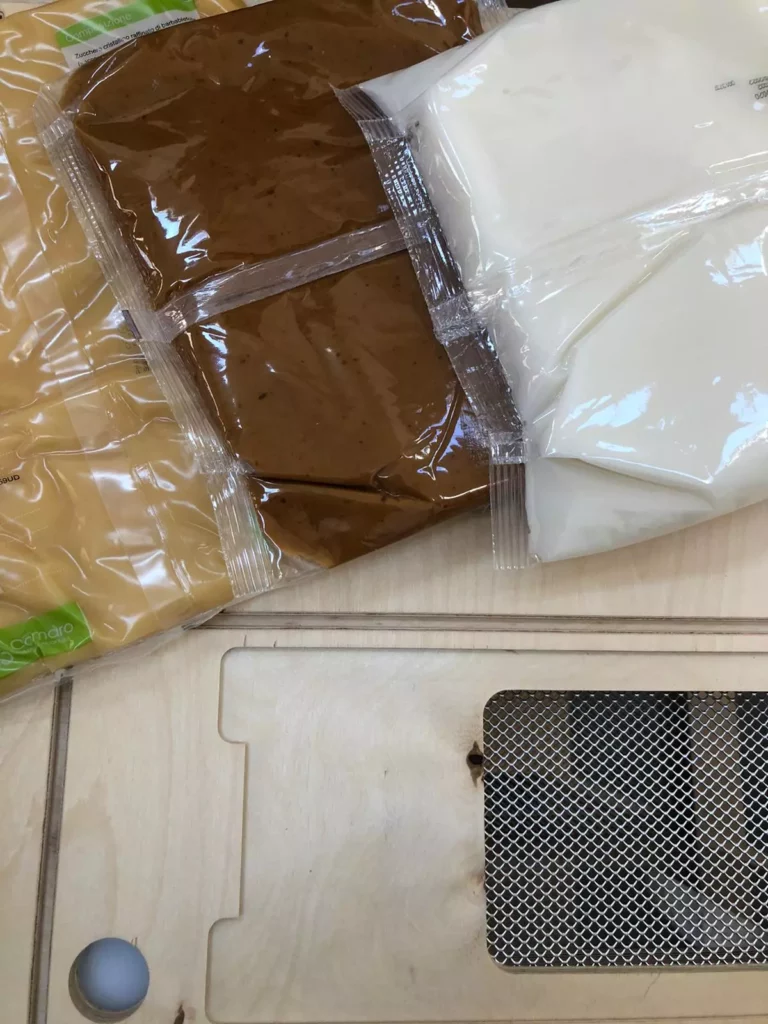
3 – When you first introduce bees into the hive, you can put a feeder on top of the wire mesh at the top instead of the white combs. Otherwise you can put the feed over the small escape holes of the bees. We recommend that you remove the white honeycomb frames at first because the bees won’t accumulate if they haven’t finished building their nest. It’s just like a normal hive, the bees will finish building the nest first and then move on to the honeycomb. Feeding can be either sugar water or sugars, whichever you prefer. If there are no flowers around at the moment, or it rains consecutively for a week, the feeding will be really helpful. When you see that the swarm is growing and the bees are collecting a lot of honey, you can remove the feed. Sometimes you don’t need to put the feed in, it depends on how much honey they have and the availability of flowers and pollen.
4 – Once the swarm grows and the bees finish building their nest, you can open the top of the hive and install white combs so they can start building. You will be able to tell when the swarm is growing by opening the hive and seeing if almost all the frames are occupied. Otherwise, you can look through the plexiglass covers to see if they have expanded to the other side. This should be a good indicator that they are ready for more space. The reason we suggest you remove these white honey combs is so you can avoid condensation and it’s easier to perform hive inspections. Remember to keep the top wooden lid on to protect the bees from sun, rain and wind. Otherwise they will start to close the metal screen on top with their wax cells. Before placing the white honeycomb frames, we recommend placing wax bases between the frames. This way, they will have an easy time building their honeycombs. Bees require a lot of resources to build wax, more than they need to produce honey, so keep that in mind!
You can insert the wax bases this way:

1 – One way to check the health of your bees is to look through the plexiglass covers. From here you can figure out simple things like checking to see if your bees are expanding, regardless of whether they are producing honey or building new broods. You’ll only be able to see the frames from the sides and you’ll be able to see the first and last frames to see how much the bees have expanded. You can also check the net to find dead bees. Around twenty or so nothing to worry about, but if they increase and get around a hundred, there may be a problem. You can also check the wooden board at the bottom for varroa, pollen, etc. You can attach a board to the bottom for extra security (see picture below).
2 – The best way to give your bees a thorough check is to open the hive, pull out the frames and go through them one by one. You should check several things, including observing if the queen is laying enough eggs, signs of parasites, and honey production. Remember to use protective clothing during this step.

These steps are optional, it really depends on where you live and how cold it is. Every case is different and you should consult your local beekeepers or beekeeping organization on how they do it and whether or not they overwinter their hive. These are our suggestions, but you can be creative when it comes to beekeeping. Everyone has a different way of winterizing their hives. The main things to keep in mind are plenty of food, some ventilation, insulation, and an exit.
1. Feed the bees
The first thing you should do is make sure the bees have plenty of food in their nest, are healthy, and have a good swarm size. They should have grown during the spring and this would be the determining factor as to whether or not your bees will survive the cold winter.
Step 1
If the small hole that allows the bees to enter the top area of the hive is open and there are bees at the top, you should allow them to leave that area by inserting the lever with the beekeeper. Give it a few hours to completely leave the top.

Step 2
Once the bees have left the honeycomb area, you can close the access by placing the levers without any opening. This way, the bees do not have access to the honeycomb area. Remember to remove the white frames!
Step 3
Now that there are no bees, you can open the covers and place the feed of your choice in the net area. You can use sugary feed, protein patties, or anything else you prefer.
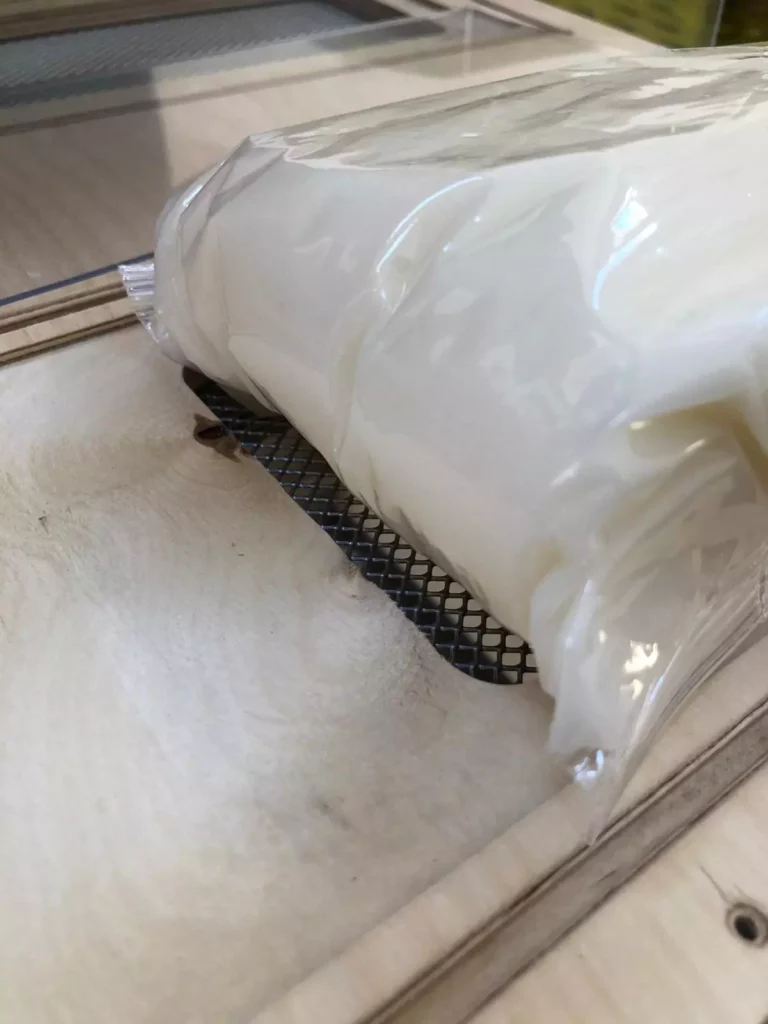
Step 4
Place the solid feed on top of the wire mesh, the bees will be able to eat from it by accessing it through the main box.
(Place the feed without the plastic packaging)
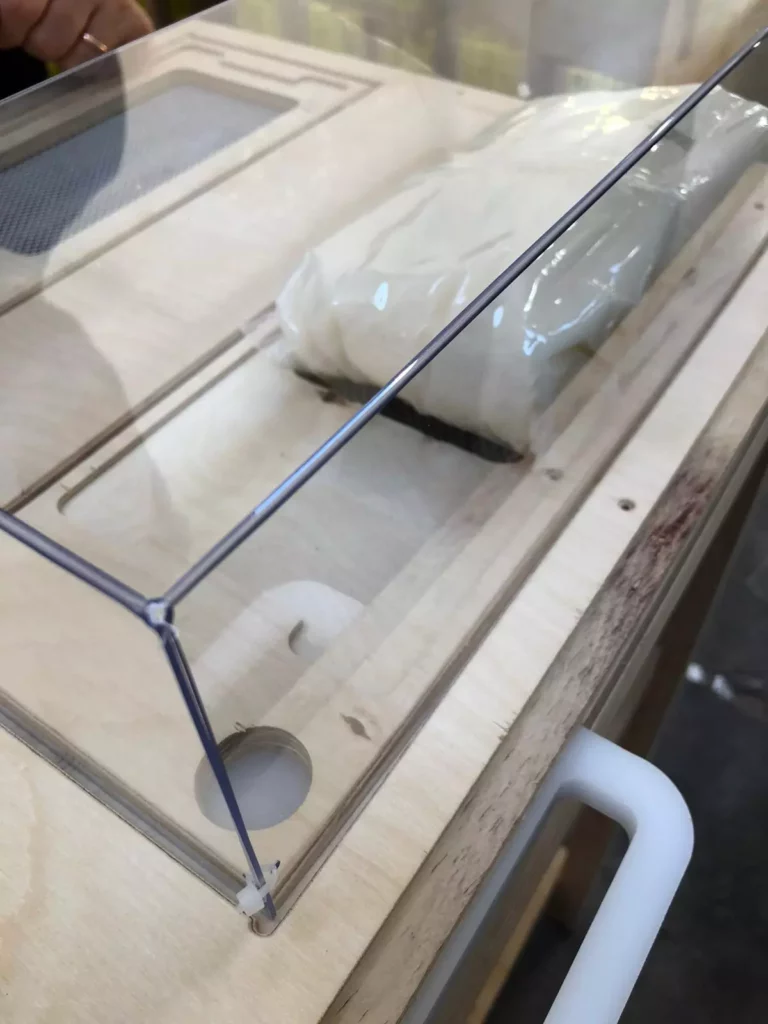
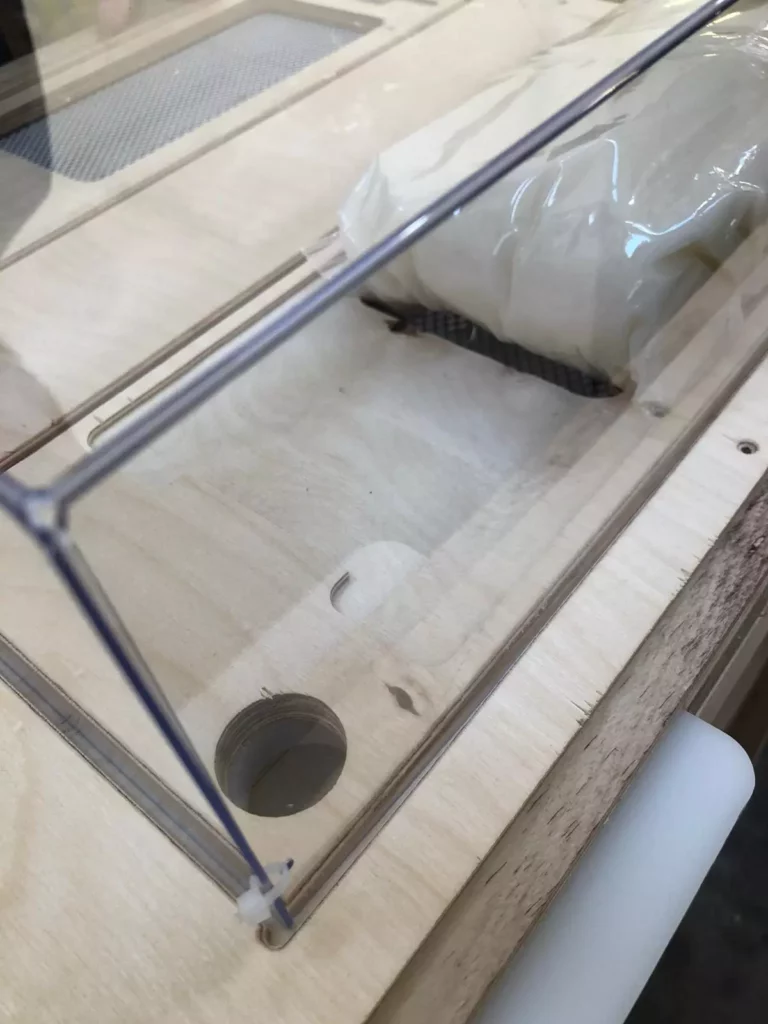
Step 5
Close off the entire area with the plexiglass covers. In the photo you can see that the entrance is closed entirely with the lever.
Step 6
Another option is to re-open the honeycomb area so that they can climb straight up to get access to the feed. Then you can close off the entire top area with the wooden cover. This option is fine for a short period of time, as the warm air will leave most of the hive in the upper area.
2. Closing the honeycomb area
You should do this to keep as much warm air inside as possible.

Step 1
Once the bees have finished feeding, close the net with a piece of wood or Styrofoam. This will help keep warm air inside the hive.
Step 2
Do this for both sides. For extra protection, add a layer of Styrofoam on top. You need to keep warm air from escaping the hive.
Step 3
Now that there are no bees, you can open the covers and place the feed of your choice in the net area. You can use sugary feed, protein patties, or anything else you prefer.
3. Insulation of the sides
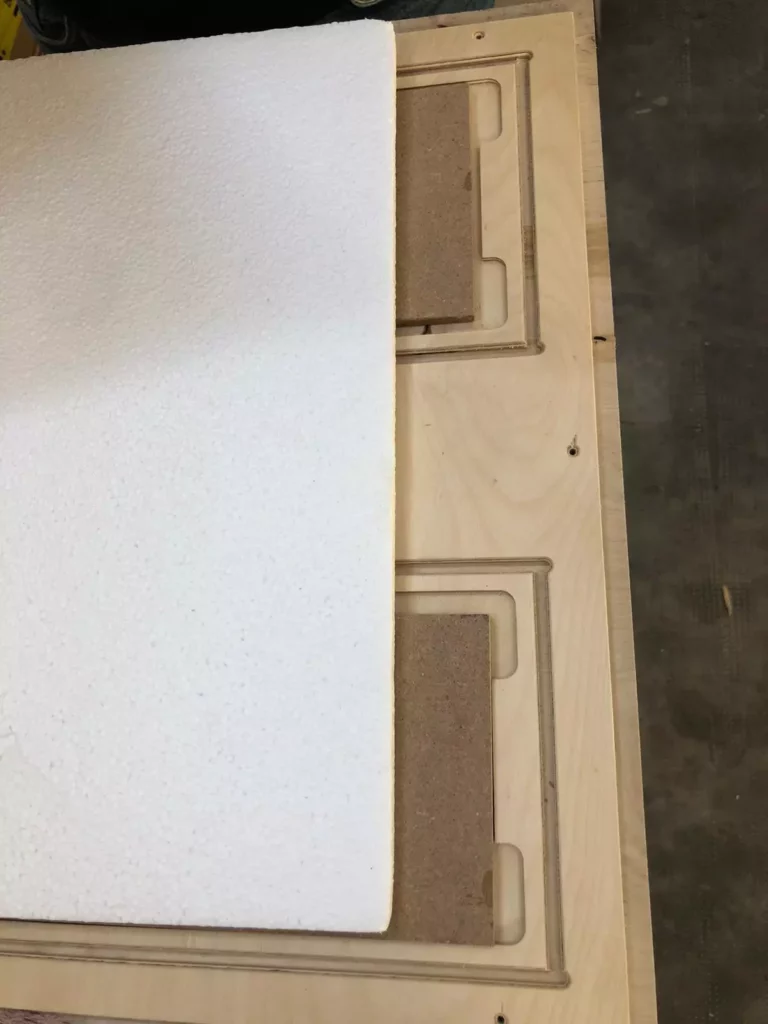
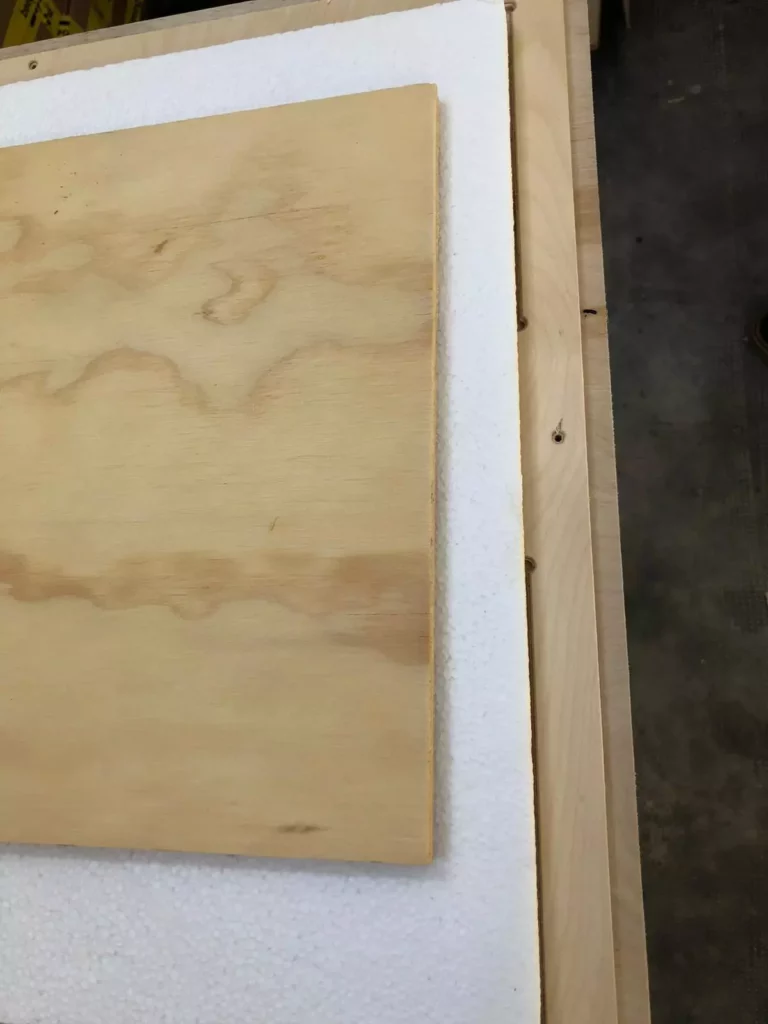
When it comes to winterizing the hive, you should take some styrofoam boards and put them between the walls and covers of the hive. You can help them stay in place by attaching small clips to the side so that they all stay together.
Step 1
Cover the plexiglass walls with a piece of Styrofoam. This will help insulate the walls of the hive. Do this for all sides.
Step 2
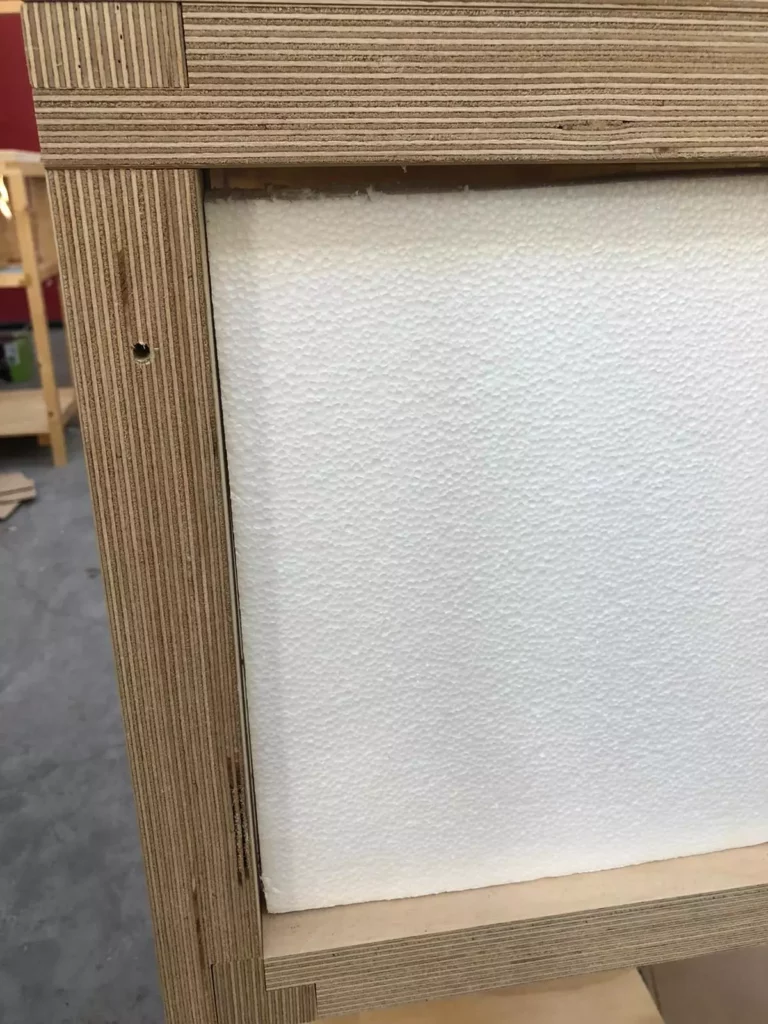
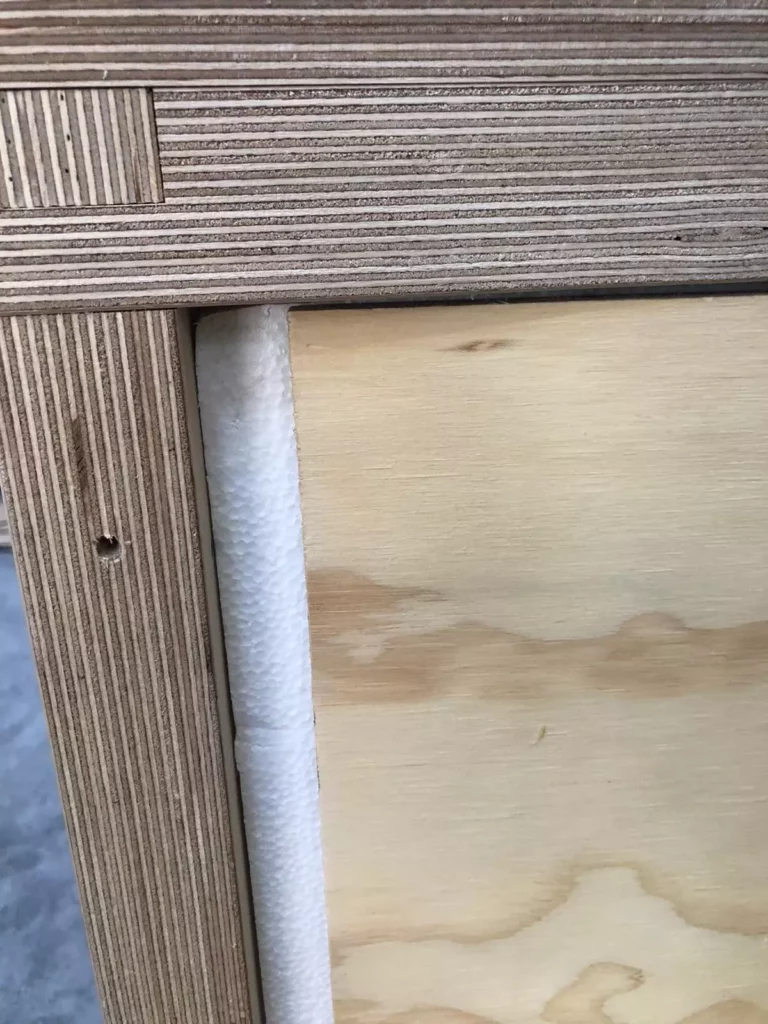
Then take the wooden covers and place them on the walls to hold everything together.
Step 3
It should look something like this. Repeat this step for each wall.
4. Covering the bottom
Step 1
Take 4 pieces of wood and screw them onto each leg of the hive. They will serve as supports for the bottom board.
Step 2
Place a wooden board long enough to cover the bottom of the hive. This will keep the warm air inside.
Step 3
It should look something like this. Be sure to leave a little space in between to allow some air to pass through.
5. The fireplace
As for the chimney, you can remove it or leave it, depending on what you prefer. Bees can fly up the “chimney” during the winter to do their business outdoors, but they can also use the exit without the “chimney”.
Step 1
You could remove the chimney if you wanted to. If you do, you can see that there is a hole for ventilation on the top.
Step 2
Make sure to cover that hole, to keep the warm air inside the hive. You can even use beeswax to cover it up.
Step 3
If you wish to use the fireplace during the winter, you can leave the hive as is.
1 – Humidity Control
When the colony is very small, moisture can take over in the form of condensation and mold. This happens in regular hives as well, it’s just harder to see it clearly on wood. Be sure to protect all pieces of wood with paint, even the insides, with non-toxic paint. When the colony is still small, they don’t have enough bees to properly ventilate the hive, that’s why there might be this problem. So at first it’s normal. If you see that suddenly in the middle of summer your hive starts to have condensation, this could be a bad sign that indicates the decline of the population caused by other problems in the hive such as potential mites, ants, cockroaches, etc… It is best to inspect the hive thoroughly to understand the underlying cause.
2 – Ants
In some areas there is a high probability of ants reaching your hive and there are many ways to deal with these pests. One of the ways is that you can put cinnamon to create dust barriers around the legs. Find a helpful link at the bottom of the page.
3 – Exclude queen
Since the nest is located in the lower area, the queen would be there most of the time. You can get a queen excluder if you want, but since the chances of the queen going up there are so low, this part is not necessary.
4 – Swarming
You can open the hive to check it out as you would in a normal hive. Once the colony grows, they may swarm because this is their way of reproducing at the colony level. You can let them swarm and half of your colony will leave in search of a new home, which is fine, or you can prevent it. There are two main ways to prevent your bees from swarming. One method is to open the brood, look for the queen’s cells, and remove them. This will prevent the hive from creating another queen with which half of the bees will swarm. You can also create more space in the hive by placing a super between the honey collection system and the brood.
5 – Closure Bottom
You can install a closing bottom if you wish by attaching two wooden bars to the bottom of the hive to place a varroa board. This would also be useful in the winter to cover the bottom screen.
Protect from the wind – joining two parts of the “chimney” together could be useful if you live in an area with high winds. During the winter time, it would be helpful to place the B-BOX in an area sheltered from the wind.
6 -Varroa
The B-BOX can be treated for varroa like any other hive. For our hives, we use varroa strips and it works for us. However, since everyone has their own special method, you are free to explore them. During treatment, access to the hive could be made equivalent to that of a normal hive by removing the chimney and inserting the treatment through the opening that would now be visible.
We don’t spam, don’t worry :-)